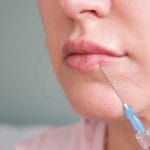
BioRePeel before and after review is most useful when clinics treat it as a documentation process, not a marketing gallery. In a Biorepeel Before and After Clinic Guide to Outcomes, the key question is whether serial photos and charting show consistent change in the target concern under the same conditions. That may include dyschromia (uneven pigmentation), post-acne marks, superficial textural roughness, visible congestion, or fine lines. Why this matters: an image taken minutes after a peel may reflect transient erythema (redness), surface hydration, or lighting more than a stable result. For licensed practices, outcome review should sit beside candidacy screening, informed consent, written aftercare, and follow-up documentation.
Key Takeaways
- Standardize lighting, distance, skin prep, and angles before comparing images.
- Same-day brightness is not the same as a durable clinical outcome.
- Review pigment, texture, acne marks, and fine lines as separate endpoints.
- Aftercare, recent topical use, and baseline barrier status can change the photo story.
- Chart consent, protocol details, and adverse events alongside every image set.
The supply model discussed here is clinic-focused, not consumer-facing.
BioRePeel Before and After: What Clinics Should Assess
Clinics should assess whether the images answer the original treatment goal, not whether the skin simply looks shinier. A usable BioRePeel before and after set starts with a defined endpoint: less visible post-inflammatory pigment, smoother texture, lower lesion prominence, softer superficial lines, or a more even tone. If those endpoints are mixed together, the review becomes subjective and easy to overread. BioRePeel before and after pictures are only meaningful when the baseline and follow-up match in framing, lighting, expression, and skin preparation.
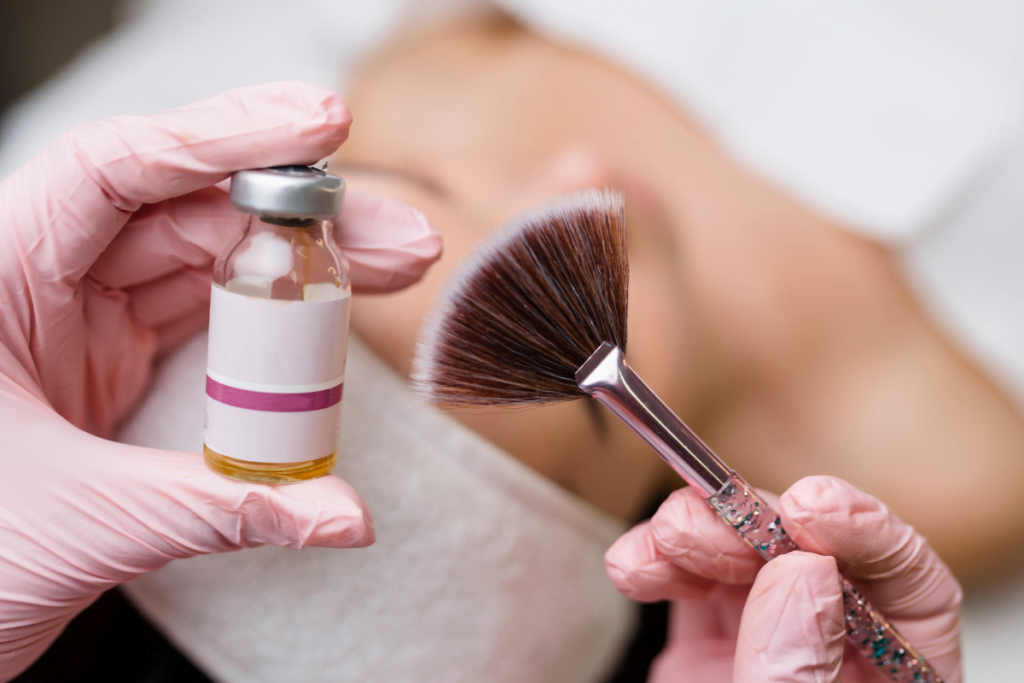
In practice, that means removing makeup, controlling background and white balance, keeping the same camera distance, and capturing the same frontal and oblique views every time. It also helps to note whether the skin was recently cleansed, exfoliated, or treated with another topical, because those variables can change shine, redness, and visible scale. Before-and-after photography works best when it supports charting, not when it replaces it.
Separate Surface Change From Structural Change
That distinction matters when teams describe what a peel may or may not do. Surface smoothing and short-term desquamation (peeling) are largely epidermal events, while statements about deeper line softening or scar change need more caution. If your team wants a quick refresher on skin structure, review Barrier Health, the Epidermis Clinician Guide, and Dermis Structure. If the target concern is photoaging, a quick review of Fine Lines and Radiance can help keep consent language realistic.
Why it matters: Same-day glow can hide irritation and flatten textural detail.
Timeline and What to Expect From Early Reviews
Meaningful peel outcomes are usually judged over consistent follow-up intervals, not immediately after application. Immediate post-treatment images are useful for documenting skin response, treatment coverage, and any early safety concerns. They are weak evidence for lasting benefit. Early follow-up is more useful for assessing tolerance, visible peeling, redness resolution, and whether the patient followed the written aftercare plan. Later serial review is where the clinic can judge whether the original endpoint actually moved.
The value of a Biorepeel Before and After Clinic Guide to Outcomes becomes clearer when one-treatment images are separated from longitudinal follow-up. A single session may show an early signal in selected mild cases, especially when the main endpoint is surface texture or overall brightness. That does not mean a one-treatment image can stand in for a predictable result across pigmentation, acne scarring, or fine-line concerns. Clinics should be especially careful with social-style comparisons that show dramatic changes within minutes or hours.
One-Treatment Images Are Only One Data Point
When practices review a broader rejuvenation plan, the peel should be interpreted in context rather than as a standalone miracle image. That is where a framework such as Anti-Aging Treatments becomes useful. It helps teams discuss where a superficial resurfacing step fits, what other factors may affect the look of the skin, and why serial review matters more than one dramatic before-and-after panel.
Screening, Contraindications, and Safety Signals
Selection and safety screening often determine whether a before-and-after series is interpretable at all. The cleanest photo set will not rescue poor candidate selection. Before treatment, review active dermatitis, infection, sunburn, open lesions, recent waxing or resurfacing, concurrent topical irritants, pigment risk, healing history, and any medical factors flagged by your clinic policy. BioRePeel contraindications should always be checked against the current manufacturer instructions and local practice standards rather than memory.
This matters most when the baseline concern includes hyperpigmentation, acne marks, or barrier fragility. A brighter immediate photo can be followed by an avoidable pigment event if UV exposure, irritation, or product stacking are not discussed clearly. If your team manages several aesthetic protocols, keeping related education in one Clinical Skincare hub can make screening criteria and aftercare language more consistent across services.
Safety Signals That Deserve Prompt Review
Escalating pain, marked swelling, blistering, new crusting, ocular exposure, or signs of infection should not wait for the next routine photo review. New or worsening dyspigmentation also deserves prompt assessment and documentation. The key point for clinics is simple: the outcome record should capture tolerability as well as appearance. A technically strong photo set is incomplete if adverse events, care steps, and follow-up actions are missing from the chart.
Aftercare Do’s and Don’ts That Affect Outcomes
Aftercare often determines whether a good treatment reads as a clean result or as avoidable inflammation on follow-up photos. Most clinics favor a short, simple recovery plan: gentle cleansing, bland moisturization, strict photoprotection, and a pause on potentially irritating actives until the protocol allows reintroduction. Overcomplicated routines are a common reason that mild expected peeling becomes more visible irritation or confusion at review.
For most teams, the main do’s and don’ts are operational rather than dramatic. Use a gentle cleanser. Support the barrier with uncomplicated hydration. Emphasize broad-spectrum sunscreen and UV avoidance. Avoid picking, scrubs, facial devices, and extra exfoliants while the skin is settling. Restart retinoids, exfoliating acids, and other actives only under the clinic’s written protocol. When practices audit written instructions, it helps to distinguish recovery essentials from optional adjuncts. A review of Tretinoin vs Retinol can clarify why retinoids are often paused around procedures, while Antioxidants and Skincare and Hydrating Masks are better considered only after the barrier appears stable.
- Keep cleansing gentle and low-friction.
- Use sunscreen consistently and limit UV exposure.
- Avoid picking, scrubs, and extra exfoliants.
- Restart actives only under the clinic’s written protocol.
Quick tip: Chart the exact date each topical was paused and restarted.
Clinic supply decisions should rely on vetted distributors and verified channels.
How It Compares With Other Chemical Peel Pathways
The useful comparison is not whether one peel is universally better, but whether the protocol fits the indication, downtime tolerance, and measurement plan. In clinic discussions, BioRePeel vs chemical peel is usually a workflow question as much as a clinical one. The comparison should focus on the target concern, the degree of visible peeling expected, pigment-risk counseling, the need for pretreatment simplification, and how the clinic will measure benefit over time.
| Decision Factor | Before-and-After Review for a BioRePeel Protocol | Review for Other Chemical Peel Pathways |
|---|---|---|
| Main goal | Often framed around surface tone, texture, congestion, and refreshed appearance. | May range from superficial brightening to more intensive resurfacing, depending on agent and depth. |
| Best proof of result | Standardized serial photos plus charted endpoint by concern. | The same, often with tighter attention to expected peeling and recovery pattern. |
| Immediate post photo | A poor proxy for final benefit when redness or shine is present. | Also a poor proxy, especially when frosting, peeling, or edema alters the image. |
| Pigment discussion | Emphasizes baseline dyschromia, UV exposure, and aftercare adherence. | Uses the same framework, often scaled further to peel depth and skin type. |
| Adjunct skincare review | Pause irritating actives, simplify the regimen, and plan restarts clearly. | Similar approach, sometimes with more restrictive prep and recovery steps. |
If your team is comparing broader rejuvenation pathways, it can help to place a peel within the wider conversation about Peptides for Skin and other supportive protocols rather than treating one isolated image as the full story.
Clinic Workflow for Photos, Consent, and Charting
Repeatable workflow produces the most trustworthy before-and-after library. In practice, a Biorepeel Before and After Clinic Guide to Outcomes only works when the same information is captured every time, even when different clinicians are involved. The goal is not to create a large gallery. It is to create a reliable clinical record that helps your team assess fit, explain expectations, recognize adverse events, and decide whether to continue, defer, or modify the plan.
- Confirm the primary concern and define one or two measurable endpoints.
- Review recent topicals, recent procedures, and any screening red flags.
- Capture baseline photos with the same device, distance, lighting, and head position used for follow-up.
- Document informed consent with realistic language about variability and the limits of single-session images.
- Record the protocol elements your clinic standardizes, plus lot or batch details according to policy.
- Provide written aftercare and note exactly which products were paused or restarted.
- Book a consistent follow-up interval and record both appearance changes and tolerability.
Photo documentation standards should be simple enough that every team member can apply them. Use the same background, facial expression, hair placement, and camera orientation. Note any deviation, such as a different room, flare activity, recent sun exposure, or makeup residue, because small changes can distort the comparison. Clean charting also supports better internal review when outcomes are mixed, especially in pigmentation-prone patients or in cases where texture improved more than tone.
Authoritative Sources
- For general peel expectations, see the AAD overview of chemical peels.
- For procedure candidacy and recovery context, review the ASDS page on chemical peels.
- For background on pigment change after inflammation, see DermNet on postinflammatory hyperpigmentation.
Used carefully, a Biorepeel Before and After Clinic Guide to Outcomes is less about dramatic single images and more about consistent photo standards, careful screening, written aftercare, and documented follow-up. That approach gives clinics a cleaner way to interpret visible change and a stronger record when outcomes are partial, delayed, or complicated by irritation.
This content is for informational purposes only and is not a substitute for professional medical advice.